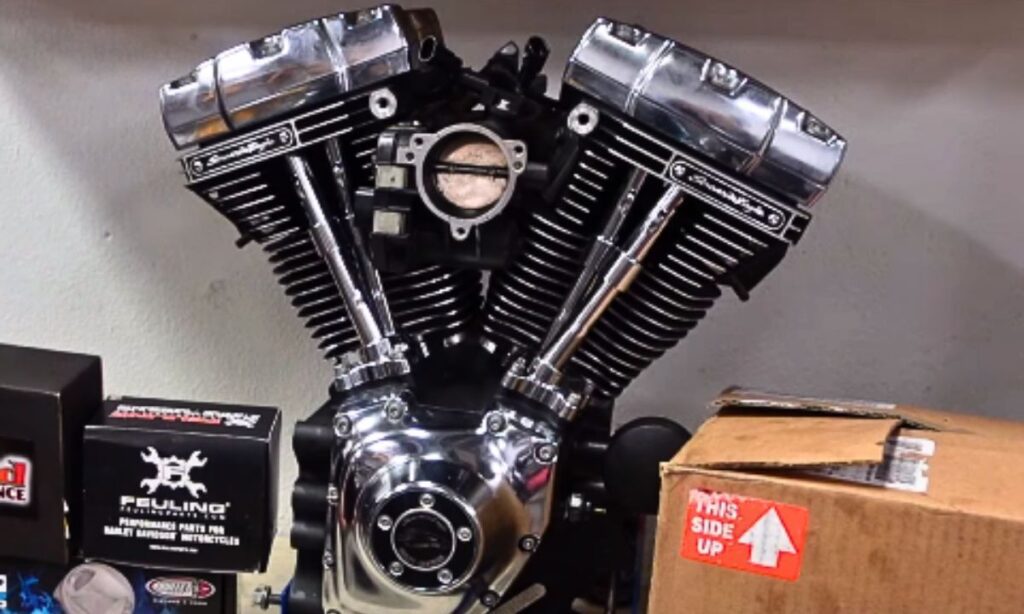
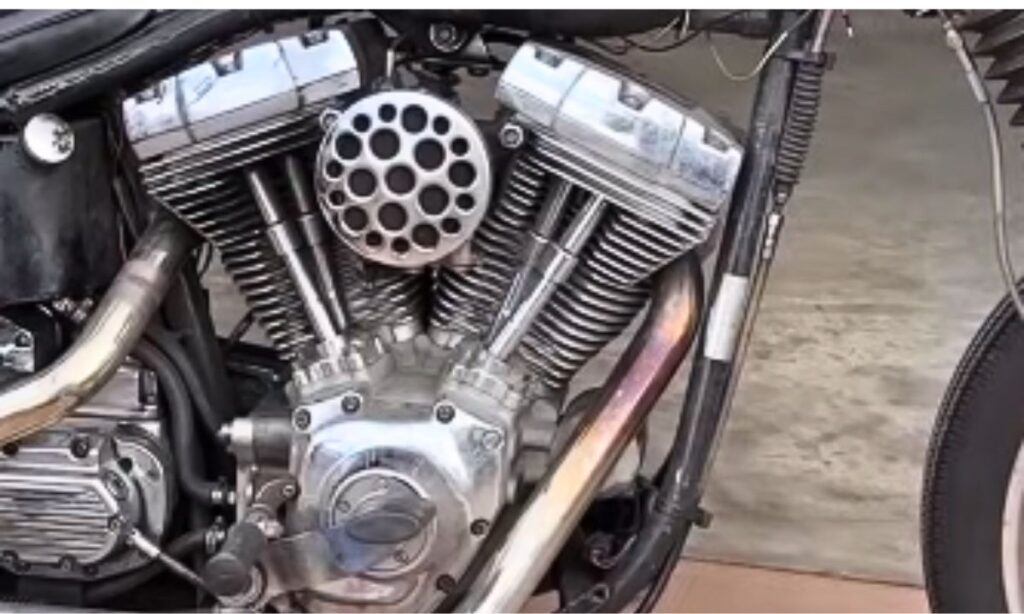
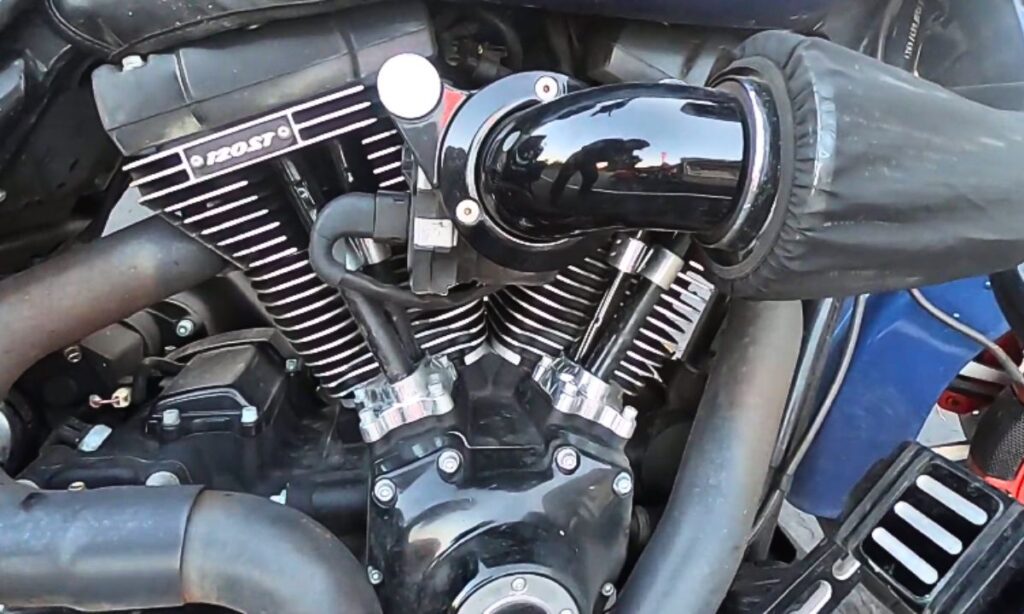
The Harley-Davidson Screaming Eagle 120ST engine is known for its raw power and high-performance capabilities.
Has often been the subject of scrutiny due to certain technical issues faced by riders.
In this article, we will explore these problems and provide a comprehensive analysis of the concerns associated with the 120ST model.
Harley 120ST Problems
These issues range from mechanical to functional, potentially affecting the bike’s overall performance and reliability.
Overheating, vibration, crankshaft issues and oil leaks are the most common issues faced by Harley 120ST owners.
It’s crucial to note that while some of these problems might be minor inconveniences, others could pose significant safety risks.
1. Overheating
If your motorcycle is running hot, it could be due to a malfunctioning cooling system, inefficient coolant, or blockages in the radiator.
Prolonged overheating can cause significant damage to the engine, leading to costly repairs or replacements.
To handle this problem effectively, start by inspecting the coolant level and its potency.
If the coolant is low, replenish it. If it’s old or contaminated, replace it with a new, high-quality coolant suitable for Harley engines.
Next, check the radiator for any dust, dirt, or debris blocking the airflow, which can cause the engine to overheat.
Clean it thoroughly and ensure nothing is obstructing the airflow. If the issue persists, inspect the water pump for any signs of failure, such as leaks or abnormal noises.
Remember, always take safety precautions when dealing with overheating motorcycle engines.
2. Vibration
The 120ST is known for its impressive power, but some owners have reported experiencing excessive vibration.
This phenomenon tends to occur when the motorcycle is operating at high speeds, ultimately affecting the overall riding experience.
The root cause of this vibration problem primarily lies in the engine mounts or the lack of a well-balanced crankshaft.
As the engine operates, especially at high RPM, it generates a significant amount of force.
If the engine mounts are worn out or the crankshaft isn’t properly balanced, these forces get transferred directly to the frame and the rider, causing vibrations.
To resolve this issue, it is recommended that the engine mounts be inspected and replaced if necessary.
This procedure involves carefully unbolting the old engine mounts and replacing them with new ones.
However, having the crankshaft professionally balanced can also significantly reduce the amount of vibration.
3. Oil Leaks
An oil leak is often identifiable by a puddle of oil under your parked motorcycle or a distinctive burning smell resulting from oil dripping onto the exhaust.
The primary cause of oil leaks could be a degraded engine gaskets or seals.
Over time, these components wear down due to heat and stress, causing oil to leak out. Another reason could be loose bolts or screws in the engine casing or oil pan.
To fix an oil leak, you will need to identify the source. Start by cleaning your engine to remove any oil and grime, and then run your bike for a short time.
Look for fresh oil traces to identify the leak source. If you’ve confirmed a leak, the next step is to replace the faulty gasket or seal.
Ensure you have the correct replacement part for your specific Harley model.
4. Irregular Idle
An irregular idle is the most common issue faced by the owners. This is often caused by inconsistent engine revs when the motorcycle is running but not in gear.
Several factors can contribute to this problem, from minor issues like a dirty air filter to more significant ones such as malfunctioning injectors or throttle position sensors.
To rectify this issue, here’s a comprehensive guide:
Inspect the Air Filter
Start by checking if your air filter is clogged or dirty. A restricted airflow can cause the engine to run erratically. Clean or replace the filter if necessary.
Check the PS
The TPS monitors the position of the throttle, sending this information to the bike’s computer.
If it’s malfunctioning, it could send incorrect data, causing irregular idling. A professional should check and replace the TPS if required.
Examine the Fuel Injectors
Faulty fuel injectors can lead to a lean fuel mixture, resulting in an irregular idle. Have a technician inspect these for blockages or leaks and repair or replace them as necessary.
Update ECMSoftware
If all the parts are in good shape, but the problem persists, it may be due to outdated software in the ECM. Visit a professional to have the software updated.
5. Clutch Issues
Clutch problems typically present themselves as difficulty in shifting gears, a stiff clutch lever, or the motorcycle not properly moving when letting out the clutch.
If you’re experiencing such issues, it can likely be attributed to a worn-out clutch, improper clutch cable adjustment, or a damaged clutch basket.
To fix the issue, start by checking the clutch for any visible signs of wear or damage.
The friction plates should be intact, and the springs should be in good condition. If you see any signs of wear or damage, consider replacing the clutch.
The clutch cable adjustment is also crucial for the smooth operation of the clutch. To adjust, locate the clutch cable adjuster near the clutch lever.
Loosen the locking nut and turn the adjuster until there is a slight free play at the lever. Then, tighten the locking nut.
6. Fuel System Issue
One common issue that 120ST owners encounter is related to the fuel system, often resulting in irregular engine performance or difficulties starting the bike.
This can be attributed to a faulty fuel pump, clogged fuel injectors, or problems with the fuel filter.
To troubleshoot, inspect your fuel pump. Listen for the hum of the pump priming when you turn on your ignition. If there’s no sound, it may indicate a pump failure.
Next, take a look at the fuel injectors. These may become clogged over time, restricting fuel flow to the engine. Use a high-quality fuel injector cleaner to clear any deposits.
Lastly, examine the fuel filter. Any impurities in the fuel can clog the filter, affecting engine performance.
If you notice a decrease in power or difficulty starting the bike, the filter might need replacing.
7. Electrical Faults
These glitches can result in a variety of ways, such as problems with starting the motorcycle, sporadic loss of power while driving, or even complete shutdowns during operation.
The main electrical system in a 120ST includes the battery, starter, and alternator. A malfunction in any of these parts could lead to significant issues.
However, if the battery is not retaining charge, it may cause the motorcycle to have starting problems. Similarly, a faulty alternator might lead to power loss while driving.
To diagnose these issues, start by checking the battery. Use a voltmeter to check the battery’s voltage.
If it’s below 12.6 volts, there might be a problem with the battery. Next, inspect the battery terminals for corrosion. If they are corroded, cleaning them might solve the problem.
If the battery seems to be in good shape, the next step is to inspect the alternator.
A simple way to check the health of the alternator is by observing the brightness of the motorcycle’s headlights. If they are dimmer than usual, it could indicate a problem with the alternator.
Lastly, if both the battery and alternator seem to be functioning properly, a fault with the starter could be the cause of the issue.
8. Difficulty in Cold Starts
This issue typically indicates the motorcycle refusing to start when the engine and ambient temperature are cold.
This can be particularly problematic during the colder months of the year. The source of the problem can often be traced back to the bike’s electronic fuel injection (EFI) system.
The EFI system is responsible for injecting the correct amount of fuel into the combustion chamber.
In cold conditions, the EFI system adjusts the fuel-air mixture to ensure the bike starts smoothly. If this system is not working properly, it can lead to cold start issues.
To troubleshoot this issue, start with a general check of the EFI system. Look for any signs of damage or loose connections.
If everything seems fine, you might need to consider bringing your bike to a professional for a more thorough diagnostic test.
9. Transmission Issues
A common issue that has been reported by numerous owners is transmission problems.
These issues typically show as difficulty in shifting gears, a grinding noise while shifting, or the bike slipping out of gear.
One of the main causes for these problems can be linked back to the transmission fluid.
Using an incorrect type or an old, degraded fluid can lead to poor lubrication and increased wear in the transmission.
Therefore, it’s crucial to always use the recommended transmission fluid and change it at the suggested intervals.
Another potential problem could be a worn-out clutch. If the clutch plates are worn or damaged, they won’t be able to engage properly, leading to difficulty in shifting gears.
In such cases, it would be necessary to replace the clutch plates.
To solve these transmission issues, begin by checking the transmission fluid. If it’s dirty or below the recommended level, change it.
If the problem persists, check the clutch for any signs of wear or damage. If you notice any such signs, consider replacing the clutch.
10. Crank Bearings Issues
This could result in an array of problems, such as prolonged startup times, unusual noise, and decreased performance.
The crank bearing, a crucial component of the engine, reduces friction between the rotating crankshaft and the stationary engine block.
To diagnose a crank bearing issue, start by listening for an unusual noise. A failing crank bearing often produces a metallic, grinding noise that intensifies with the engine speed.
Another sign can be an excessive vibration during operation, which could indicate a worn-out bearing.
The process of replacing the crank bearing is complex and requires specialized tools. Begin by removing the outer engine components to gain access to the crankcase.
Next, remove the crankshaft, which houses the crank bearings. Inspect the bearings for wear or damage.
If replacement is necessary, carefully remove the old bearings and insert the new ones, ensuring they are correctly seated.
When reassembling, use torque specifications and sequence as recommended by the manufacturer.

Tonmoy, the brains behind the influential motorcycle-focused website, TwoWheller.com, is a dedicated and passionate advocate for biking culture. Born and raised in a family of motorcycle enthusiasts, his love for two-wheeled transportation was ignited at an early age. His commitment to providing in-depth reviews and helpful tips for riders has established him as a respected figure in the motorcycle community.