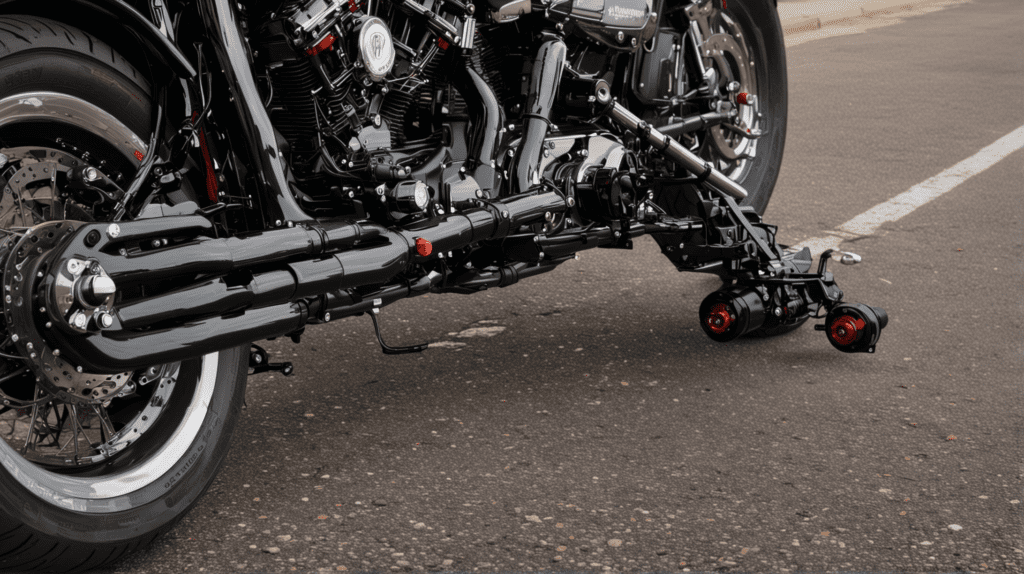
Harley Davidson motorcycles, renowned for their distinctive style and craftsmanship, are a symbol of freedom and adventure.
However, like any mechanical device, they can experience certain technical issues. One such problem frequently faced by Harley owners relates to the ignition switch.
An improperly working ignition switch may cause starting difficulties or even prevent the motorcycle from running.
In this article, we will dive into common Harley Davidson ignition switch problems, providing insight into symptoms, causes, and possible solutions.
Harley Davidson Ignition Switch Problems
The ignition switch, being a key component, is responsible for initiating the motorcycle’s electrical system and ultimately starting the engine.
Issues can arise due to various reasons, such as a faulty switch, worn-out key, or wiring problems.
Symptoms of a problematic ignition switch include difficulty in starting the bike, sporadic stalling, or the bike not starting at all.
Reasons For Bad Ignition Switch
A ignition switch can fail due to several reasons. One common cause is wear and tear from regular use.
Another factor could be exposure to harsh weather conditions, which can cause corrosion and ultimately lead to a faulty ignition switch.
However, electrical issues, such as short circuits or wiring problems, can also contribute to ignition switch failure.
1. Faulty Switch
If the switch is malfunctioning, it can lead to difficulties in starting the engine, unresponsive motorcycle controls, or an engine that dies unexpectedly.
The ignition switch essentially serves as the gateway to the motorcycle’s electrical system.
When you turn the key, it is the ignition switch that initiates the starter solenoid and, ultimately, the engine ignition process.
If this component is defective, the entire ignition process may fail. Over time, the internal contacts of the switch can wear out or corrode, interrupting the electrical circuit.
In some cases, the switch’s mechanical parts might break due to rough handling or frequent use. Moreover, moisture can seep into the switch, causing short circuits and leading to malfunction.
To diagnose a faulty ignition switch, listen for a clicking noise when you turn the key; the absence of this sound often indicates a problem with the switch.
If you suspect a bad ignition switch, it’s best to consult a professional mechanic or your local Harley Davidson dealership.
2. Worn-out Key
Over time, the ridges and valleys on the key can wear down, leading to a poor fit within the ignition switch.
This can make it hard for the key to turn, cause the ignition switch to stick, or even prevent the motorcycle from starting altogether.
If you suspect that a worn-out key is causing your ignition switch problems, a key replacement is usually the best solution.
Begin by contacting your Harley Davidson dealership with your key code and VIN number, which are usually found in your owner’s manual. The dealership can then create a new key for you.
However, if you don’t have access to your key code, you may need to remove the ignition switch and take it to a locksmith.
3. Wiring Problems
This could be due to a faulty wiring connection, a corroded wire, or even a wire that has completely broken off.
To diagnose this problem, first locate the ignition switch which is usually found on the right side of the motorcycle.
Then, with the use of a multimeter, check if the ignition switch is receiving power by connecting the multimeter to the wire that comes from the battery to the ignition switch.
If there’s no power, the issue could be with the wire or the battery itself.
In the case of a faulty wiring connection, it’s crucial to replace the connectors or the complete wiring harness.
Remember to disconnect the battery before starting any repair. For a corroded wire, it’s recommended to clean it first with a wire brush and then apply a corrosion inhibitor.
If the wire is broken, a wire crimper and heat shrink tubing can be used to mend it.
Yet, the best solution is to replace the damaged wire altogether, especially if the wire is old and worn out.
4. Harsh Environment
Harsh environmental conditions can significantly contribute to ignition switch problems in Harley motorcycles.
These conditions include extreme temperature fluctuations, exposure to moisture, and road debris.
In extreme heat, the internal components of the ignition switch can expand, causing misalignment that prevents the switch from functioning correctly.
On the other hand, freezing cold temperatures can contract these components, again leading to misalignment or even damage.
However, the water, whether from rain or washing, can seep into the ignition switch if the protective seals have been compromised.
This moisture can cause corrosion of the electrical contacts within the switch, leading to erratic operation or complete failure.
To prevent these issues, it’s essential to maintain and protect the ignition switch regularly.
This includes using a protective cover to shield the switch from weather and debris and regularly inspecting and replacing worn or damaged seals.
Symptoms Of Bad Ignition Switch
When a ignition switch begins to fail, there are several telltale symptoms to watch for. Misfires and stalling may occur frequently, particularly when the motorcycle is idling.
Additionally, the bike may fail to start altogether or may unexpectedly shut off during operation.
1. Difficulty Starting Engine
One of the primary symptoms of a bad ignition switch on a Harley motorcycle is difficulty starting the engine.
This problem surfaces when the electrical circuits inside the ignition switch malfunction, leading to a failure in transmitting the crucial electrical signal necessary to ignite the engine.
This can result in the form of intermittent starting issues, where the engine may start sometimes but fail at others, or in severe cases, a complete failure to start.
If you encounter such inconsistencies, it is imperative to inspect your ignition switch. Begin by checking the wiring for any visible signs of wear and tear, loose connections, or corrosion.
If the wiring appears to be in good condition, the next step is to test the ignition switch itself using a multimeter.
2. Engine Vibration
When the ignition switch begins to fail, it can cause a disruption in the ignition system’s ability to maintain an adequate spark, leading to irregular engine vibrations.
Initially, these vibrations might be barely noticeable and could be mistaken for regular mechanical nuances.
However, as the ignition switch deteriorates further, these vibrations can intensify, becoming increasingly apparent and disruptive.
The engine might shake more than usual, especially at idle or low speeds, and this could be accompanied by a rough or uneven engine sound.
If left unchecked, a faulty ignition switch can lead to more substantial engine issues, including misfires or even engine stalling.
3. Erratic Electrical Behavior
Erratic electrical behaviour is a common symptom of a faulty ignition switch in Harley motorcycles.
This behaviour can result in various ways, ranging from flickering dashboard lights to complete loss of power in the electrical systems.
The ignition switch is responsible for distributing electricity to different components of the motorcycle, such as the engine, headlights, and dashboard.
When the switch becomes faulty, it disrupts this distribution, leading to unpredictable electrical behaviour.
To troubleshoot this issue, start by observing any irregularities in your motorcycle’s electrical components while it’s running.
If the headlights or dashboard lights flicker or go off unexpectedly, or if the engine suddenly cuts out, these could be signs of a bad ignition switch.
Next, try starting the motorcycle. If it starts without a problem but then abruptly shuts off, this could also indicate a faulty ignition switch.
How You Can Fix a Faulty Ignition Switch On Your Harley?
To fix a faulty ignition switch on your Harley Davidson, you’ll need to follow a few steps carefully. Here’s a step-by-step guide:
Disconnect the Battery
Firstly, ensure your safety by disconnecting the motorcycle’s battery. This prevents any electrical short circuits during the process.
Remove the Ignition Switch
The ignition switch is usually located on the side of the motorcycle. Use a screwdriver to carefully remove the screws holding it in place, and then gently pull out the switch.
Inspect the Switch
Look for signs of damage, such as broken parts, charred components, or corrosion. If it’s visibly damaged, it’s best to replace it entirely.
Clean the Switch
If there’s no visible damage, the problem might be due to dirt or grime. Use a small brush and an electrical cleaner to clean the switch carefully.
Reinstall or Replace
If you cleaned the switch, you can now reinstall it. However, if it was damaged, you’ll need to replace it. You should be able to purchase a new ignition switch at a motorcycle parts store.
Reconnect the Battery
Once you’ve reinstalled or replaced the ignition switch, you can reconnect the battery.
Remember, it’s always important to consult with a professional if you’re unsure about any step in this process.
Working on a motorcycle’s electrical system can be dangerous if not done correctly.

Tonmoy, the brains behind the influential motorcycle-focused website, TwoWheller.com, is a dedicated and passionate advocate for biking culture. Born and raised in a family of motorcycle enthusiasts, his love for two-wheeled transportation was ignited at an early age. His commitment to providing in-depth reviews and helpful tips for riders has established him as a respected figure in the motorcycle community.

