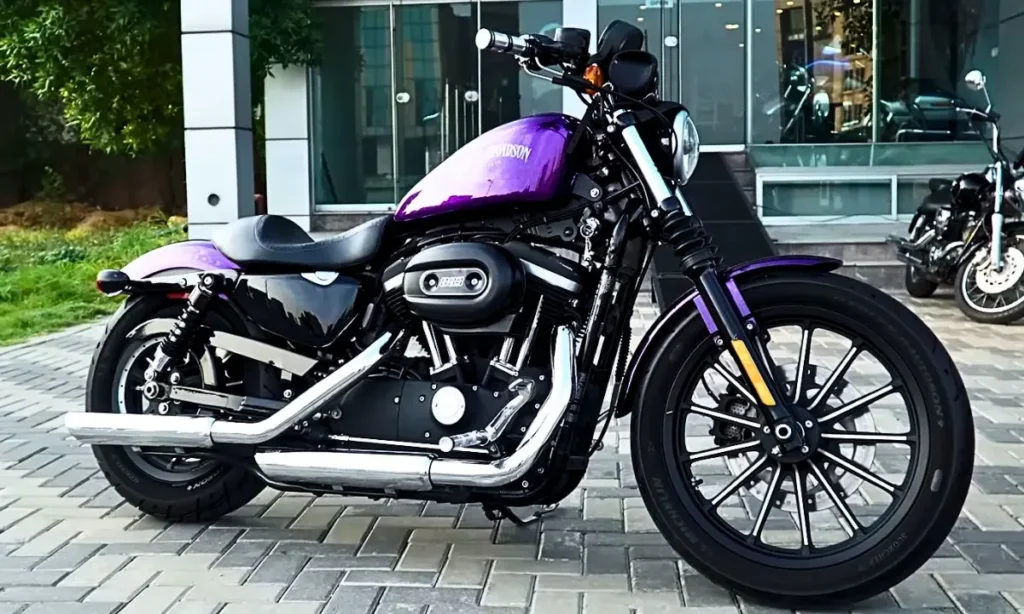
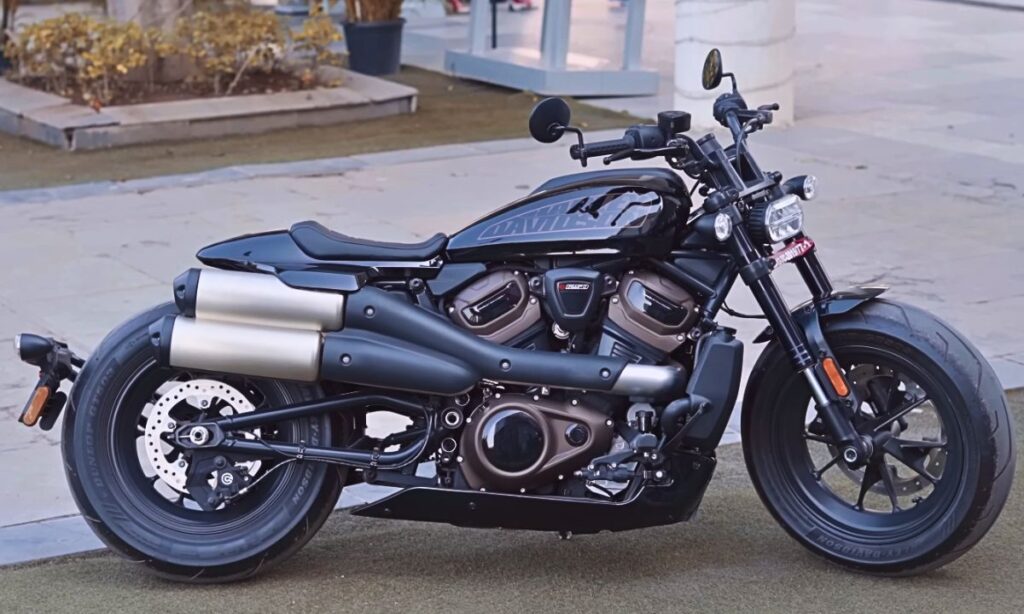
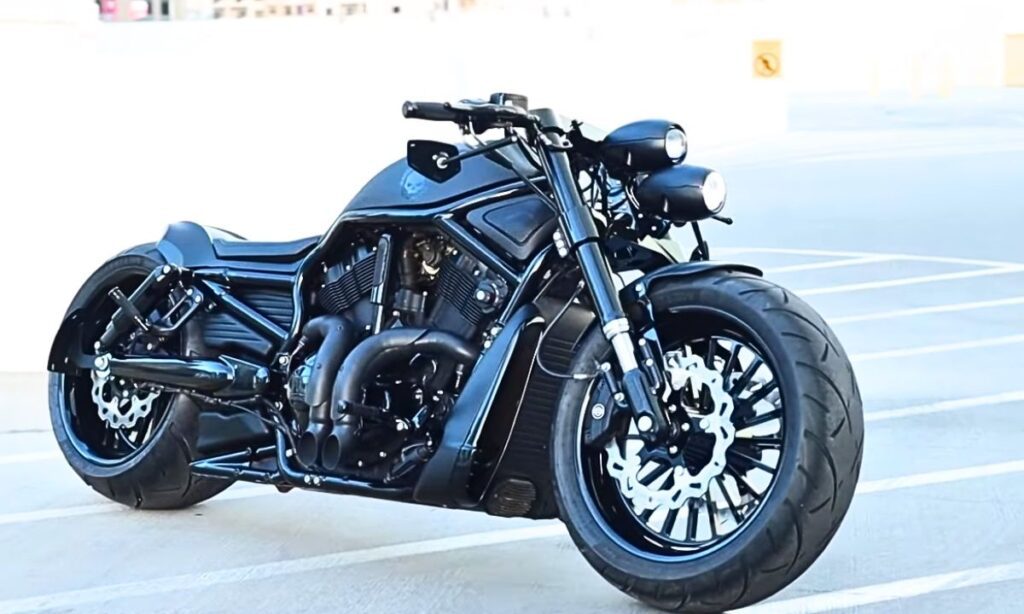
Harley Davidson is known for its exceptional craftsmanship and powerful performance. They have a wide range of motorcycles that appeal to bikers worldwide.
Having the right charts for these iconic motorcycles’ different parts is vital for Harley owners and mechanics.
In this article, we will dive into the different charts that provide a detailed overview of various Harley models, offering insights into their specifications.
Harley Davidson Motorcycle Charts

The Harley Davidson Motorcycle Charts provide an overview of various models produced by the iconic motorcycle manufacturer, Harley Davidson.
They offer a detailed breakdown of each model’s specifications, including engine size, tire pressure, bolt, and exhaust measurements.
Furthermore, these charts highlight unique features, available customization options, and price ranges, allowing motorcycle enthusiasts to easily compare and contrast different Harley Davidson models.
It is a must-have resource if you’re considering purchasing a Harley Davidson motorcycle or simply interested in the brand’s offerings.
1. Harley Tire Pressure Chart
Maintaining correct tire pressure on your Harley Davidson motorcycle is crucial for optimum performance, safety, and fuel efficiency.
Inappropriate tire pressure can lead to less responsive handling, increased tire wear, and a higher risk of flats or blowouts.
A variety of factors can affect tire pressure in motorcycles. The ambient temperature, the motorcycle’s load, and the tire’s condition all play a significant part.
However, significant changes in temperature can alter the tire’s internal pressure.
Similarly, carrying heavy loads or running on worn-out tires can also unfavorably affect tire pressure.
The Harley Davidson Tire Pressure Chart is a valuable tool for Harley owners. This chart provides specific tire pressure recommendations based on the model and tire type.
To utilize this chart effectively, first, identify your motorcycle model and tire type.
Then, match the details with the corresponding values on the chart to find the recommended tire pressure.
2. Harley Engine Size Chart
The engine size of a Harley-Davidson motorcycle plays a crucial role in its performance. Engine size, measured in cubic centimeters (cc), directly influences power output, torque, and fuel efficiency.
Larger engines tend to be more powerful, delivering stronger acceleration and higher top speeds. However, they also consume more fuel and may be less manageable for novice riders.
Performance is just one aspect of choosing the right engine size. You should also consider your typical riding style and conditions.
If you mostly do city riding, a smaller, more maneuverable engine might serve you best.
For highway cruising or long-distance touring, a larger engine with strong high-speed performance could be more suitable.
If you’re into sport riding, you might want an engine that delivers its power and torque across a wide RPM range.
However, understanding your needs and riding style is crucial in choosing the right engine size for your Harley-Davidson.
Consider testing out a variety of models and engine sizes to figure out what feels most comfortable and performs best in your typical riding conditions.
And remember, while the engine is a key component of a motorcycle’s performance, it’s just one aspect of the overall riding experience.
3. Harley Battery Size Chart
Motorcycle batteries are the lifeblood of any motorcycle, powering everything from the ignition system to the headlights.
There are several types of motorcycle batteries, each with their own unique characteristics. The most common types are lead-acid batteries and lithium batteries.
Lead-acid batteries are inexpensive and durable, but they require regular maintenance and may pose environmental hazards if not disposed of properly.
Lithium batteries, on the other hand, are lightweight and maintenance-free, but they can be more expensive.
Maintaining health, longevity of your battery is crucial to your motorcycle’s performance. Here are a few tips.
Regularly charging your battery ensures it has the power it needs to function properly. If a motorcycle is left idle for long periods, the battery may drain naturally.
Over time, the battery terminals can accumulate corrosion, which can negatively impact battery performance.
Regular cleaning with a brush and a mixture of baking soda and water can keep these terminals clean and corrosion-free.
If you plan to store your motorcycle for an extended period, a battery tender can help maintain the battery’s charge and prolong its lifespan.
Always storing the battery in a cool and dry place can significantly extend its life. The results of extreme temperatures can damage the battery and shorten its lifespan.
4. Harley Belt Size Chart
Belts are a pivotal component in Harley Davidson motorcycles, playing a significant role in transmitting power from the engine to the rear wheel.
Unlike chains, belts offer smoother rides, require less maintenance, and have a longer lifespan, which makes them ideal for high-power application motorcycles like Harleys.
Choosing the right belt size for your Harley Davidson motorcycle is crucial for its performance and safety.
Generally, the size of the belt is dependent on the model of the motorcycle and the manufacturer’s specifications. The belt size is usually mentioned in the user’s manual.
However, if the manual is not available, you can measure the distance between the center of the front and rear pulleys to determine the correct belt size.
Despite their durability, belts on Harley Davidson motorcycles can develop issues over time.
Common problems include belt wear, misalignment, and improper tension. Wear can be checked visually for cracks or fraying.
Misalignment can be verified through a specialized laser tool or by checking the belt tracking at the rear pulley.
Belt tension should be checked with a specialized tool when the motorcycle is at room temperature.
If any of these issues are observed, it is recommended to have the belt replaced or adjusted by a qualified technician to ensure safety and optimal performance.
5. Harley Fork Oil Capacity Chart
Fork oil is an integral component of your Harley’s front suspension system. Its primary role is to provide damping, thus allowing the forks to absorb road shocks and ensure a smoother ride.
Its viscosity or ‘weight’ determines how effectively your suspension responds to different road conditions, with higher weights offering stiffer suspension.
Having a Fork Oil Capacity Chart is an invaluable resource for Harley owners and mechanics alike. It lists various Harley models alongside their corresponding fork oil capacities, denoted in milliliters.
This capacity indicates the optimal volume of fork oil required for each model to guarantee the best suspension performance.
It’s critical to adhere to these specifications to prevent damage to the fork seals or the suspension’s responsiveness.
Common fork-related issues may include leaks, inconsistent damping, or noises from the front suspension.
These problems can often be traced back to improper fork oil levels or the use of incorrect oil weight.
In the case of leaks, the fork seals may need replacement. However, always consult your Fork Oil Capacity Chart and Harley’s manual before making any changes.
6. Harley Exhaust Fitment Chart
To properly match your Harley with the right exhaust using the fitment chart, it’s essential to understand the details presented in the chart.
Each row typically represents a different model of Harley Davidson motorcycle, and each column signifies various exhaust systems.
The intersections where the row and column meet indicate whether an exhaust system is compatible with a specific Harley model.
Start by identifying your Harley model on the chart. Once you have found your motorcycle model, follow the row horizontally and look for marks or color indications.
It’s important to note that not all exhaust systems are created equal. Some offer better performance, while others are more aesthetically pleasing.
You should consider what you value most in an exhaust system, whether it’s the roar of the engine, the sleek design, or the performance boost, before making a decision.
Lastly, remember that the compatibility indicated in the chart does not guarantee an easy installation. Be prepared to purchase additional mounting hardware or accessories to ensure a perfect fit.
You may also need to adjust your motorcycle’s fuel-air mixture after installing a new exhaust system, especially if it significantly changes the airflow in your engine.
7. Harley Air Suspension Chart
Understanding and applying the Harley Davidson Air Suspension Chart is critical for optimizing your ride.
This chart provides essential information on the recommended air pressure settings for your particular Harley model.
To read the chart, locate your motorcycle model and follow the row across to find the suggested air pressure for your specific ride conditions.
The chart will typically provide a range, allowing you to adjust the air suspension based on personal preference and ride comfort levels.
Properly setting up your air suspension has several benefits. First, it enhances ride comfort by absorbing shock and smoothing out the ride over bumps and uneven surfaces.
It will also improve handling and maneuverability, providing a more responsive and controlled ride. It will also increase the lifespan of your suspension system by reducing wear and tear.
To apply the chart’s recommendations, you’ll need an air pump and a pressure gauge. Start by measuring your current air pressure using the gauge.
Then, use the air pump to either add or release air until you reach the suggested pressure level. Always adjust your suspension when the bike is unloaded to obtain an accurate reading.
8. Harley Bolt Size Chart
In order to use a bolt size chart effectively for Harley Davidson, it’s important to understand the various components of the chart.
Usually, the chart consists of the diameter, thread count or pitch, and the length of the bolt. Start by measuring the diameter of the bolt’s threaded section using a gauge.
Next, identify the pitch or the distance between threads. Lastly, measure the length from the bottom of the bolt to the underside of the head.
Common bolt-related issues often stem from using the incorrect size or type of bolt. Misuse can lead to undue stress on the bolt, stripping of the thread, or even damage to the parts being fastened.
To avoid these issues, always ensure the bolt size and thread match the requirements of your Harley Davidson model.
If you encounter a bolt that is stuck or stripped, don’t try to force it. Lubricate the area and gently apply pressure, or consider using a bolt extractor tool.
9. Harley Wheel Interchange Chart
When youre considering wheel compatibility and interchangeability, it’s critical to understand not all wheels are created equal.
The Harley Wheel Interchange Chart is designed to serve as a guide to navigating through complex landscape.
To use this chart effectively, you need to identify your wheel’s primary attributes: rim size, hub style, and axle diameter.
Find these details on the chart’s up-down line. The left-right line lists possible wheel substitutes that match your motorcycle type and year.
Follow the intersecting lines from your specific attributes to find suitable alternatives.
For instance, if you have a 5-spoke, 16-inch rim with a 3/4-inch axle, the chart will guide you to the models and years suited for this wheel swap.
10. Harley Fluid Capacity Chart
Proper fluid maintenance is crucial to the longevity and performance of your motorcycle.
The type and amount of fluid your bike needs can be found in a Fluid Capacity Chart, a guide that provides detailed information on the specific volume and type of fluid your bike requires.
Motorcycles, especially brands like Harley Davidson, depend on different types of fluids for various components.
Engine oil lubricates the moving parts, preventing overheating and wear while improving performance.
Brake fluid ensures effective braking, while transmission fluid keeps gears shifting smoothly. Coolant prevents your bike from overheating and protects it from freezing in colder climates.
It’s imperative to adhere to the recommended fluid capacities provided in the chart. Too much or too little of a certain fluid can lead to poor performance and potentially costly damages.


Talha Younas, the brains behind the influential motorcycle-focused website, TwoWheller.com, is a dedicated and passionate advocate for biking culture. Born and raised in a family of motorcycle enthusiasts, his love for two-wheeled transportation was ignited at an early age. His commitment to providing in-depth reviews and helpful tips for riders has established him as a respected figure in the motorcycle community.

