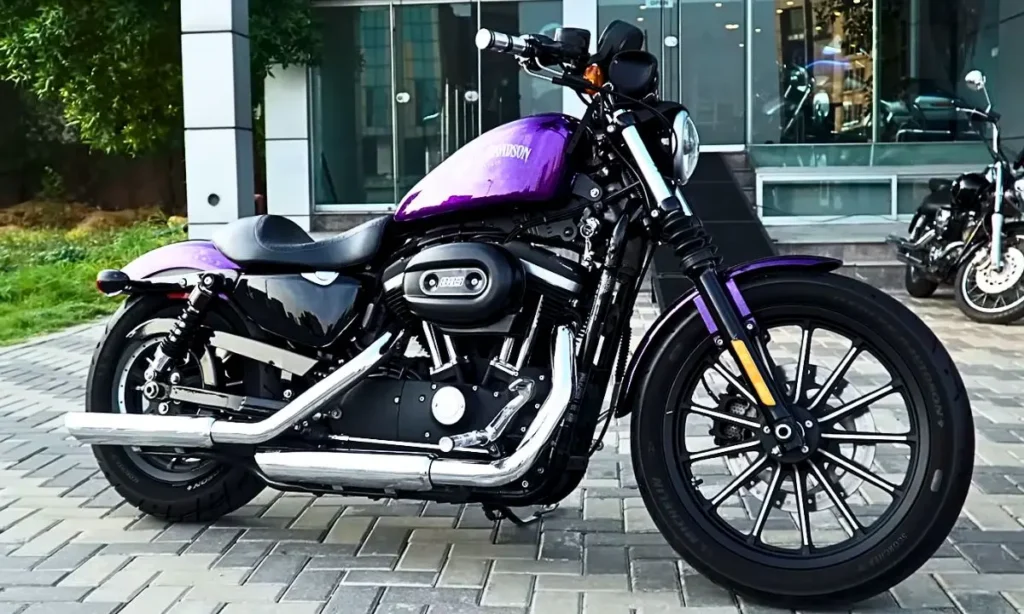
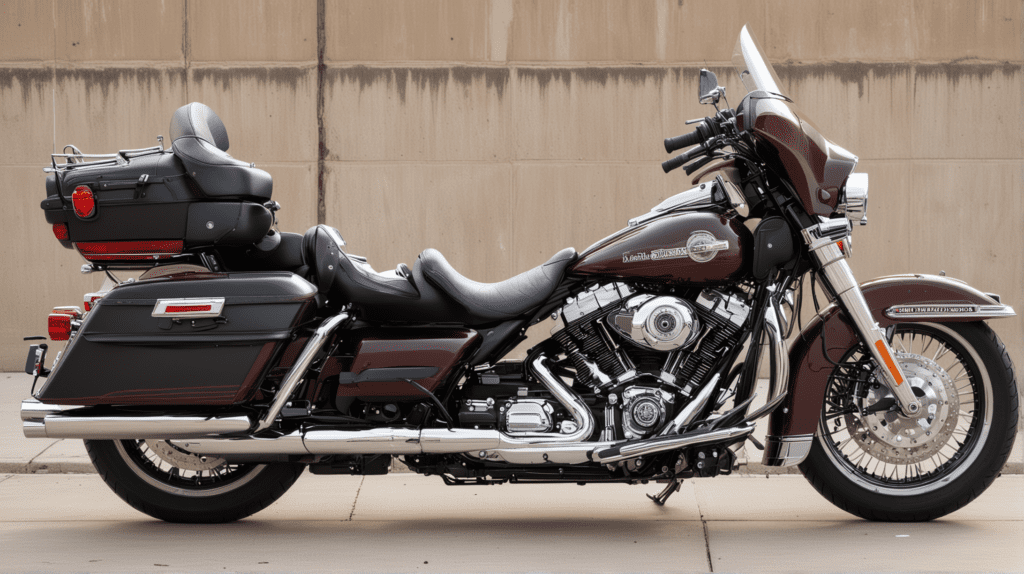
Harley-Davidson, a well-known name in American motorcycle culture, has been dealing with a series of problems lately.
Despite its strong brand and reputation for quality, the company has been facing challenges that could affect its position in the market and its long-term future.
In this article, we will explore these issues in detail with their possible solutions, as well as the obstacles that Harley-Davidson is currently facing.
Harley Davidson Problems
Some owners have reported issues with high oil usage, which can lead to engine overheating.
On the other hand, Harley also has reported oil leaks, bad oil pumps, hard starting, brake system failure, and clutch issues.
The company also faced criticism for the relatively high cost of their motorcycles and spare parts.
Furthermore, some models have been subject to recalls due to safety concerns, affecting the brand’s reputation for reliability.

1. Oil Leakes
Oil leaks are a common issue for owners and enthusiasts. They can occur due to worn-out seals, loose connections, cracked engine blocks, or faulty oil filters.
Oil leaks can lead to significant engine damage and compromise the ride’s performance if not addressed promptly.
Firstly, identify the source of the leak. Look for oil stains or drips under the motorcycle after it’s been parked for a while.
Check the oil filter, engine block, and oil pan seals, as these are common sites for leaks.
If the oil filter is the culprit, it may be that it’s not properly tightened or is damaged. Replace it and see if the leak persists.
For leaks around seals or gaskets, these will need to be replaced. This task can be a bit more complex and may require professional help.
A cracked engine block is a more serious issue and will likely require a complete engine rebuild or replacement. If you suspect this is the cause, it’s best to consult with a Harley professional mechanic.
2. Overheating
One of the major problems that riders often encounter is overheating. Especially during hot weather or in heavy traffic.
The air-cooled engines of these bikes struggle to dissipate heat effectively, resulting in an overheated engine.
Overheating is not just an inconvenience; it can cause serious damage to your engine if not addressed promptly.
The signs of overheating can be performance loss, pinging noises, and an excessively hot engine casing or engine seizure.
To prevent overheating, there are several steps you can take. Firstly, ensure your engine oil is fresh and at the correct level; oil not only lubricates but also helps to cool the engine.
Secondly, consider installing an oil cooler, which can significantly lower engine temperatures.
In traffic, try to keep moving as much as possible; the more air that flows over the engine, the cooler it will be. If you notice your engine heating up, pull over and let it cool down.
3. Bad Charging System
The charging system, a crucial component of any vehicle, is responsible for maintaining the battery’s charge and providing electrical power to the bike while running.
When it malfunctions, it can lead to a host of problems ranging from weak headlights to an inability to start the bike.
The primary constituents of a Harley charging system are the alternator, regulator, and battery.
The alternator generates electrical power, and the regulator maintains the electrical charge at a safe level while the battery stores this charge.
When the charging system fails, it’s often due to the breakdown of one of these components.
For example, a defective alternator may produce too little power, preventing the battery from charging sufficiently.
On the other hand, a failing regulator might not maintain the power level, causing an overcharge or undercharge situation.
Both scenarios can lead to serious damage to the battery and other electrical systems in the bike.
To diagnose issues with your charging system, use a multimeter to test the voltage at various RPMs. A healthy charging system should produce about 13.5 to 14.5 volts at 2000 RPM.
If you notice an unusual reading, it’s crucial to consult an expert or refer to the manual for subsequent troubleshooting procedures.
4. Cam Chain Tensioner Issue
Harley Davidson motorcycles, while known for their robust design and iconic sound, often face an issue with the cam chain tensioner.
The problem primarily affects models produced between 1999 and 2006, equipped with the Twin Cam 88 and 88B engines.
The cam chain tensioner, made from a type of plastic or nylon, is known to wear out prematurely, leading to serious engine damage if not addressed in time.
The cam chain tensioner maintains ideal tension in the cam chain, ensuring smooth and synchronized operation of the engine’s camshafts on motorcycle.
As the tensioner wears out, tiny plastic fragments disperse into the engine oil, causing further engine wear and potentially leading to catastrophic engine failure.
To prevent this issue, it’s crucial to regularly inspect the cam chain tensioner, especially on models within the affected years.
Some owners opt to replace the original tensioners with aftermarket hydraulic versions, which are known to last longer.
To change the cam chain tensioner, follow these steps:
- Drain the engine oil and remove the outer primary cover.
- Remove the cam cover.
- Inspect the existing tensioner for wear. If it is worn out, remove it.
- Install the new tensioner. Ensure it is correctly aligned with the chain.
- Reassemble the cam cover and the primary cover.
- Refill with new engine oil.
5. Malfunctioning Oil Pump
The oil pump is a critical component that circulates oil under pressure to the engine, transmission, and the primary chain case on motorcycle.
When this component malfunctions, it poses a significant threat to the overall performance and longevity of the engine.
Signs of an oil pump malfunction can be low oil pressure, overheating engine, and abnormal noises.
If you suspect these symptoms with your bike, it’s essential to address the issue immediately to prevent further engine damage.
Here’s a step-by-step guide on how to handle a malfunctioned oil pump:
- Recognize the signs of a failing oil pump. Look for warning lights on your dashboard, listen for abnormal noises, and check for overheating.
- Check the oil level and the condition of the oil. Look for any metal debris that may indicate internal engine damage.
- Consult with a professional mechanic or a Harley Davidson specialist. They can provide a proper diagnosis and suggest whether the pump needs repair or replacement.
- Depending on the diagnosis, the oil pump may need to be repaired or replaced. Always ensure that genuine Harley Davidson parts are used for replacement to maintain optimal performance.
- After the repair or replacement, start the bike and let it idle for a few minutes. Watch for warning lights and check the oil pressure.
6. Hard Starting
This issue can occur for several reasons, such as a failing battery, issues with the fuel system, or a problem with the ignition.
A weak or dying battery might not provide sufficient power to the starter motor.
If your Harley takes longer to start, or if the engine cranks but doesn’t start, it might be a sign of a faulty battery.
You can use a multimeter to check your battery voltage. A reading below 12.6 volts might indicate a problem. In such cases, consider charging or replacing the battery.
The fuel system could also be a culprit. If your Harley is fuel-injected, a clogged fuel injector might be preventing fuel from reaching the engine.
If your bike has a carburetor, the carb might be dirty or need adjustment.
In both cases, the fuel system should be thoroughly cleaned and checked by a mechanic, or someone experienced with Harleys.
Finally, check your bike’s ignition system. A faulty spark plug or ignition coil can lead to a hard-starting problem.
You can check the spark plugs for signs of wear or damage and replace them if necessary.
If your ignition coil is not generating enough voltage, the spark may be too weak to ignite the fuel, and you may need to replace the coil.
7. Brake System Failure
One of the notable issues that have plagued is brake system failure. This issue is not only problematic but can also be potentially dangerous for riders.
The brake system, crucial for ensuring the rider’s safety, can sometimes fail due to various reasons.
These include the aging of brake components, contamination of brake fluid, or mechanical faults in the brake assembly.
The most common symptom of brake system failure is a loss of brake pressure, making the bike harder to stop.
You may also notice that the brake lever or pedal feels spongy or less responsive than usual.
In some cases, there may be noticeable leaks of brake fluid near the front or rear brake assemblies.
If you detect any of these signs, it’s essential to address the issue promptly. Here is a basic guide on what you should do:
- Regularly inspect the brake system for visible signs of wear or damage. Check the brake fluid level in the reservoirs and look for any signs of leaks or seepage around the brake assemblies.
- Harley Davidson recommends changing the brake fluid every two years. Over time, brake fluid can absorb moisture, which can lead to internal corrosion in the brake system.
- If you find any damaged or worn-out components during your inspection, replace them immediately. This includes brake pads, rotors, and lines.
- If you are not confident in diagnosing or fixing the problem yourself, take your motorcycle to a professional mechanic. A professional can thoroughly inspect the brake system and fix any underlying issues.
8. Clutch Issues
One of the common issues is clutch problems, often characterized by difficulty in shifting gears, a slipping clutch, or strange noises during clutch disengagement.
The cause can range from worn-out clutch plates to clutch cable maladjustment or improper fluid levels.
To troubleshoot, start by inspecting the clutch cable. If it’s too tight, it may not fully disengage the clutch, leading to hard shifting.
To adjust, loosen the locknut on the clutch cable adjuster and turn the adjuster inward until there is a little free play in the cable.
If the cable adjustment doesn’t resolve the issue, you may be dealing with worn clutch plates.
Over time, the friction material on the plates can wear down, causing the clutch to slip. In this case, the plates will need to be replaced.
Please remember that clutch work should be done by a professional mechanic if you are not confident in your skills.
Lastly, improper fluid levels can also lead to clutch issues. Make sure to periodically check your bike’s fluid levels and top them up as necessary.
Motorcycle clutches require a specific type of fluid, so consult your owner’s manual to ensure you’re using the correct type.


Talha Younas, the brains behind the influential motorcycle-focused website, TwoWheller.com, is a dedicated and passionate advocate for biking culture. Born and raised in a family of motorcycle enthusiasts, his love for two-wheeled transportation was ignited at an early age. His commitment to providing in-depth reviews and helpful tips for riders has established him as a respected figure in the motorcycle community.

